

Milk, yogurt, cheese, and butter have been plentiful in our house lately! We rarely have enough dairy products to keep us satisfied. Somehow it always gets consumed shortly after making it through the doorway. Well, try getting a cow! Or better yet, have your brother take care of one. I can't tell you how many gallons we've gone through in the past two weeks, but we have certainly had our fill!
Allow me to introduce you to homemade butter. It's so good I could eat it plain. For real. And this stuff is so easy to make! I have made a fair amount in my day using food processors, electric butter churns, and also by hand. The method I'm going to teach you uses a simple canning jar - by far the best, most efficient method I have come across when you have less than several gallons of cream on hand.


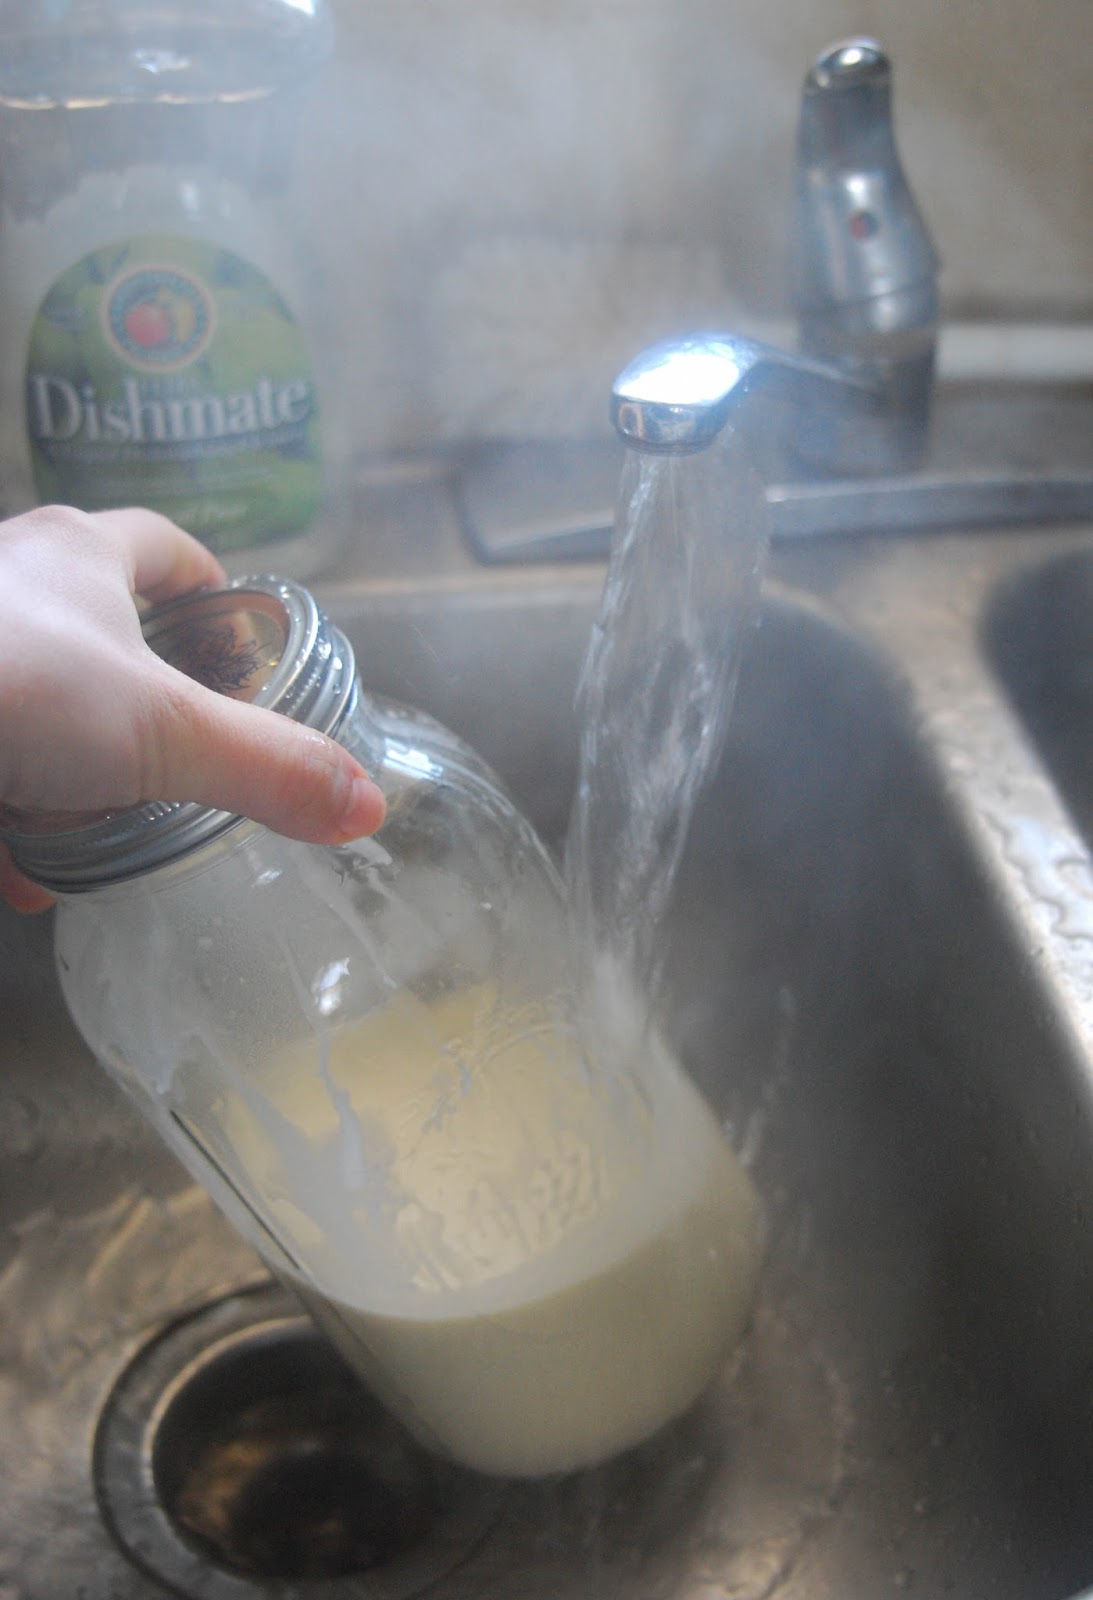
First off, you're going to need to separate your cream if it isn't already. I skimmed mine off the top of several gallons of milk. Place the amount you want to work with in a jar and heat to 70*F. It is really important that your cream is this warm, as it will cut down your butter making time tremendously! I split my cream amounts so my jar wasn't more than half full, and ran it under hot water until reaching the desired temperature.

Next step is shaking! Mix it, shake it, swish it back and forth. You may have noticed my little man's feet sticking out from behind me. He actually fell asleep while being jolted around!


You're going to shake it until it starts to separate and get transparent looking. You'll notice yellow bits of butter forming. At this point, you may want to shake it just a little bit longer, gently, just enough to bring the little bits together some. If you have really warm cream it will look greasy, and the more you shake it the greasier it will get. I guess you'll just have to keep an eye on it. When it looks like butter, you're good. Just make sure the bits can hold together and won't wash away when you start the rinsing process.
Rinsing Method #1

Pour the buttermilk into another jar or container and save for later. It makes some mighty tasty buttermilk biscuits! I just separate the buttermilk through a crack in my lid. Less dishes to wash that way! That's definitely a goal when I'm in the kitchen. :) Dump the butter into a bowl.
Next comes the rinsing. Your goal is to get all of the buttermilk washed out, as it helps the butter last longer. Buttermilk sours before butter, and will sour the rest of your product sooner if you don't wash it out. Because this is a natural product with no preservatives, it will naturally sour sooner than grocery store butter, but by washing it we are doing our best to help it last as long as possible.
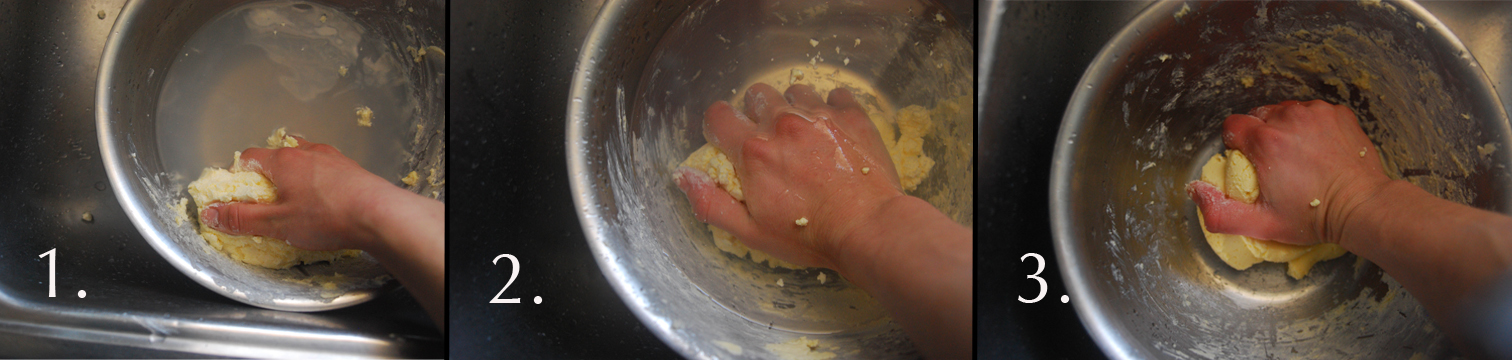
Simply pour water over the butter and squeeze it back out. You can see I am working under water while I'm rinsing it. I use cold water to try to get the butter to harden some so it's easier to work with. Your water will be really cloudy at first, so dump it down the drain and pour more fresh water in. When I rinse my butter, I use a bread-kneading motion. Squeeze, turn, press, whatever it takes to make sure the buttermilk washes away. You're going to need to keep redoing your water as you work. When you can squeeze and the water no longer turns cloudy, your rinsing is done. Dump out the water, give your butter a final press, and salt it to taste, kneading it in so it spreads throughout.
Rinsing Method #2
At the advice of my husband, this post isn't complete without including another method of rinsing. Though I've made a some butter in my days (which ended up on store shelves across the lower half of Michigan), Aaron is the butter master. He has far outdone me in its production! Using an old-fashioned hand butter churn, he and his brothers have made hundreds of pounds of this stuff. They perfected the art. (He's the one who taught me the butter needed to be at 70* for ideal churn time, years before we were even interested in each other.) This is the method he used with the churn, only I'm going to teach you using my handy canning jar.

When your butter has started clumping together, pour the buttermilk into a container to save for later use. Instead of dumping the butter into a bowl, you're going to do all the rinsing in your jar. Pour cold water into the jar and give it a few good shakes. The water should be really cloudy. Dump the milky water out (you're done with it), and add more cold water to the jar of butter. Repeat this process until the water stays clear even after shaking. When all the buttermilk has been rinsed out, pour the water off and transfer the butter to a bowl. Squeeze all the remaining water out. Remember you want it as dry as possible so it keeps longer. Salt to taste, kneading and working it in so it's salted evenly. If you're like me, you'll sample it to make sure!
After rinsing:

Mold into desired shape, and you're all set!
With about a quart of cream I ended up with 8.3 oz. (1/2 pound) of butter.

Next step is testing it out on some nice fresh homemade bread! If you don't chow it down as soon as you've slathered it on, it's really good with home canned strawberry jam, too!

No comments:
Post a Comment